| 1975 Chevrolet Van Restoration
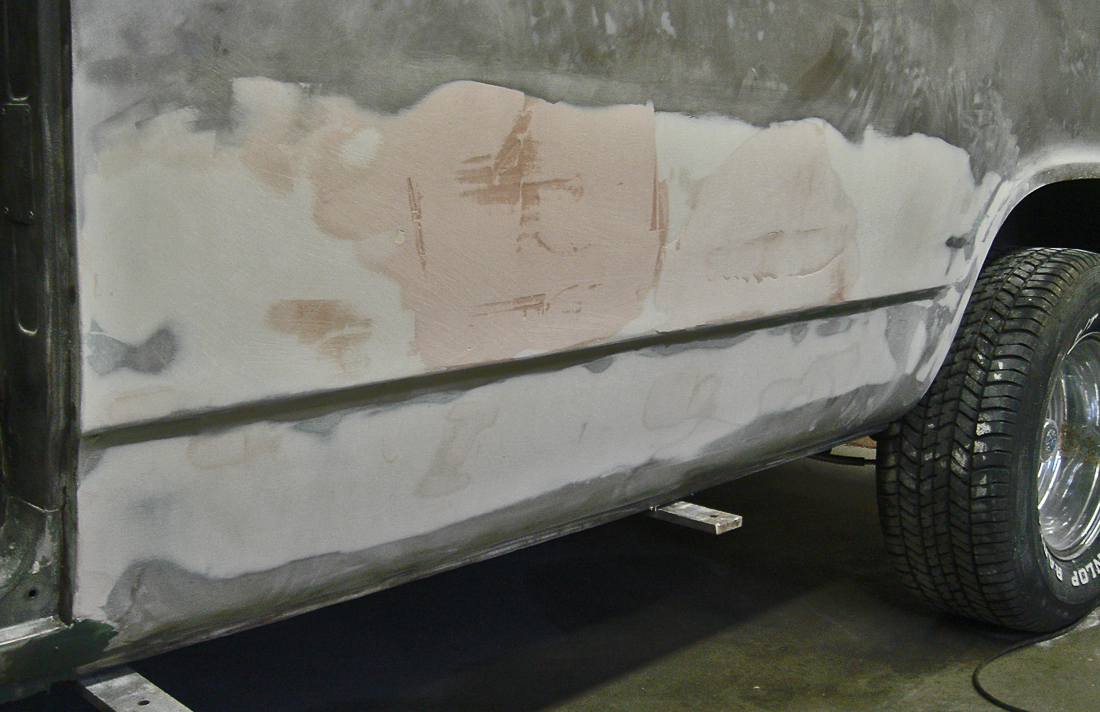
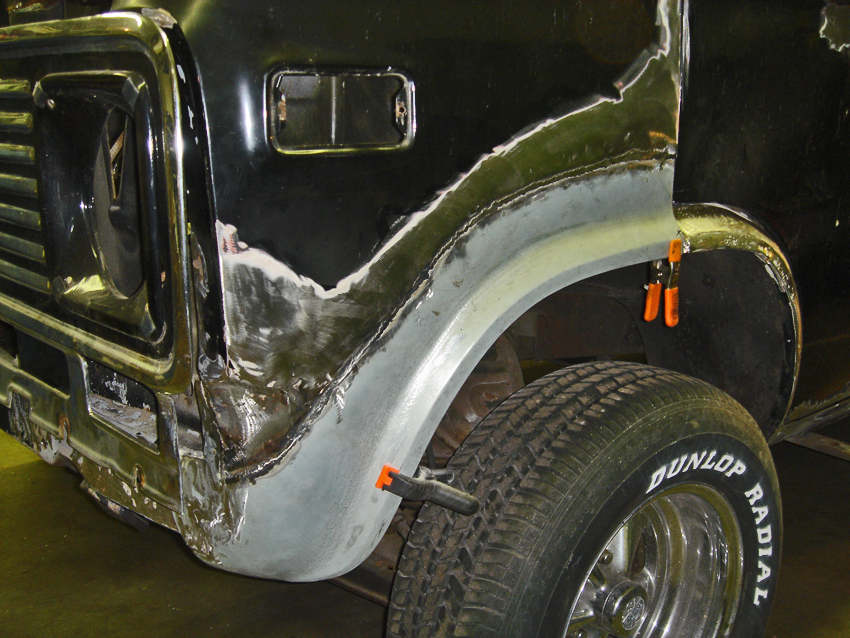
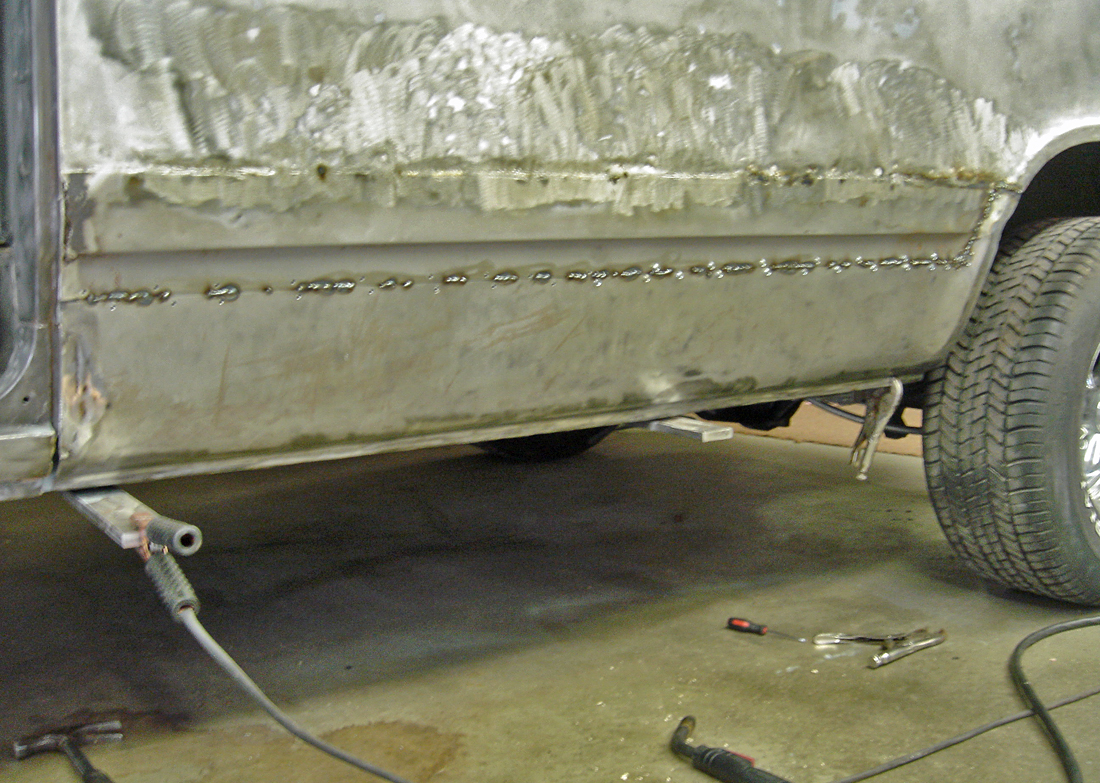
I had a big dip in this side too, but was able to sweat it and pound the living daylights out of it. There.....looking better already. Most that bondo will be grinded off. 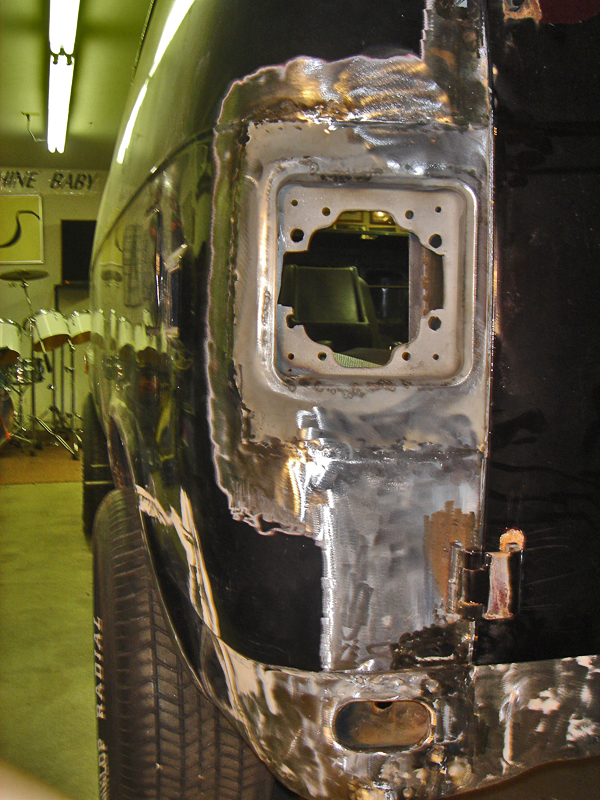
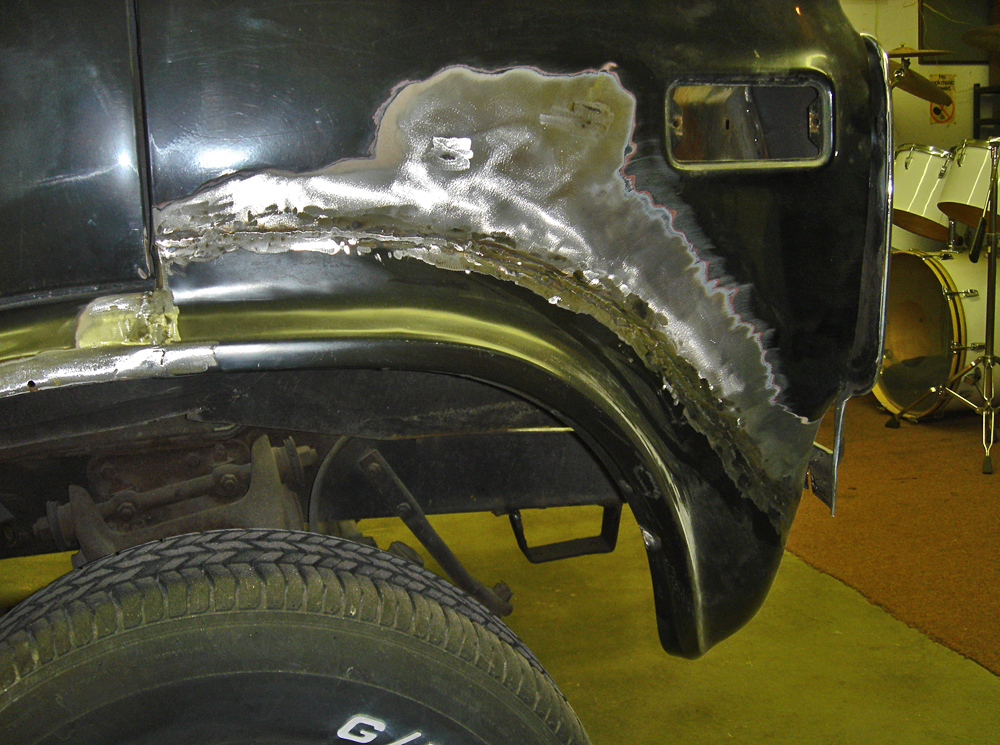
New taillight housing area patch installed & the old tailight housing (after sandbasting) welded back in place. Next up, weld up the bumper bracket holes. 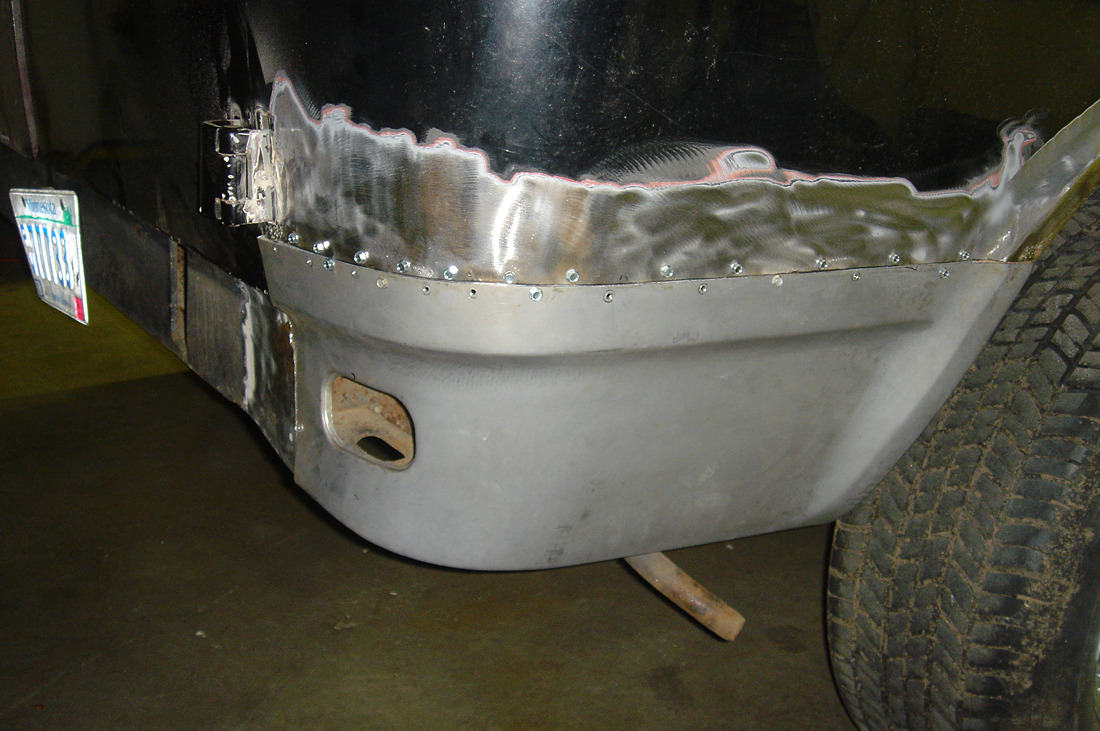
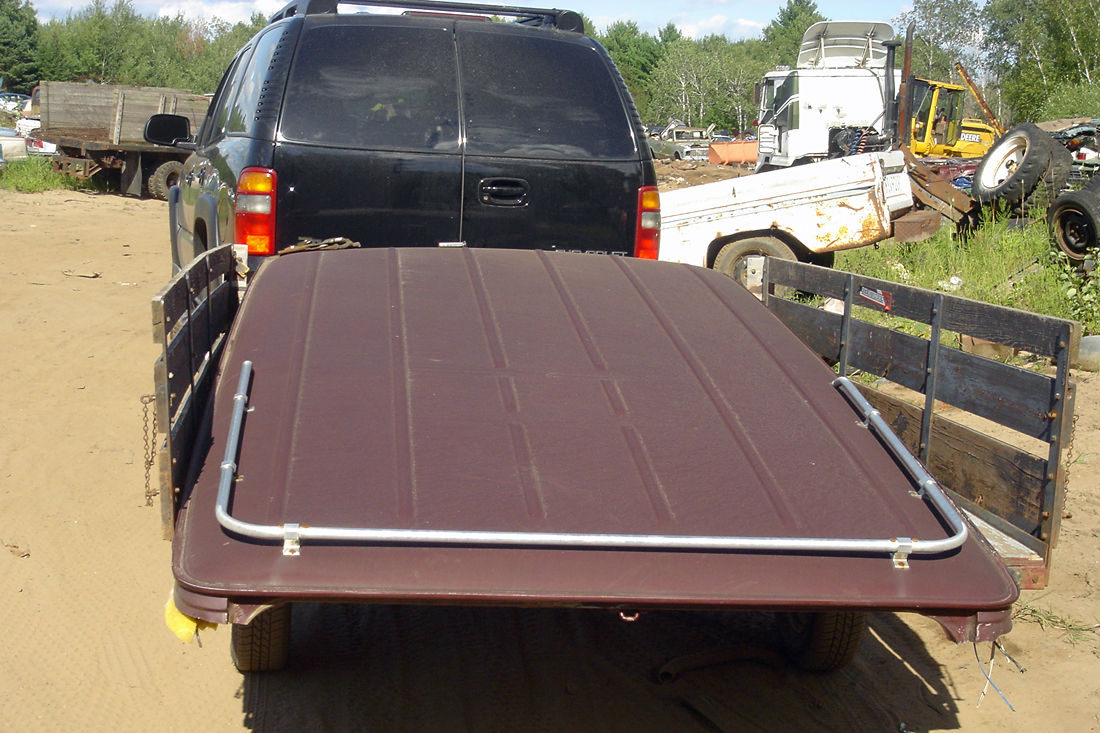
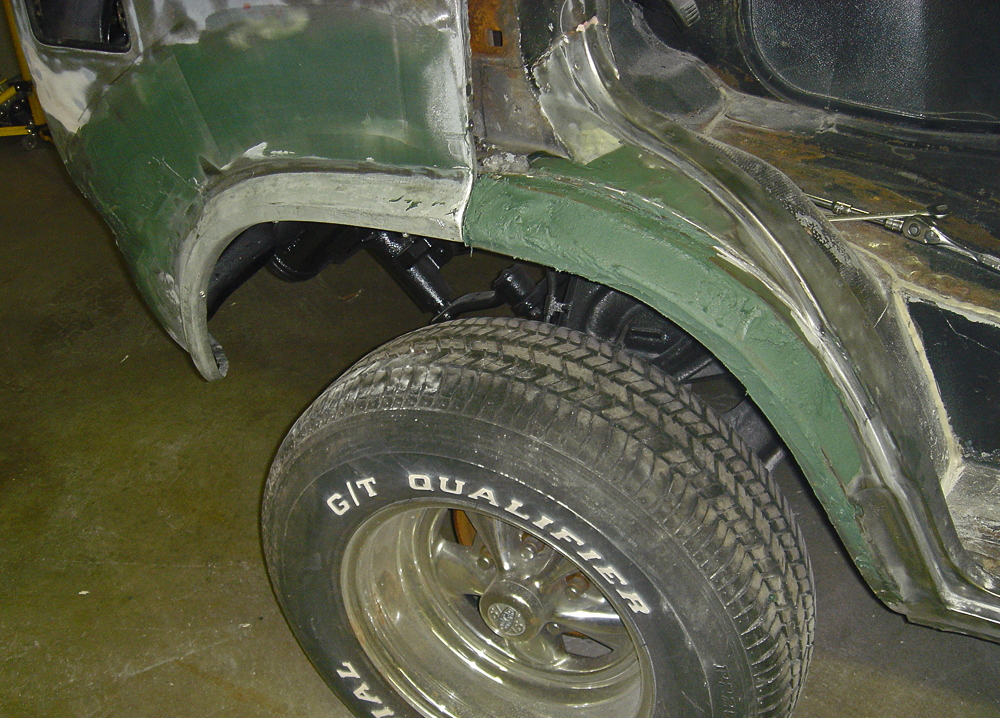
New rear lower patch on the hind quarters. I am leaving off the rear bumper this time around and welding up the area behind where the 4 bumper brackets would bolt on and turning it into a rollpan which I will fabricate a recessed area for the license plate to sit into. 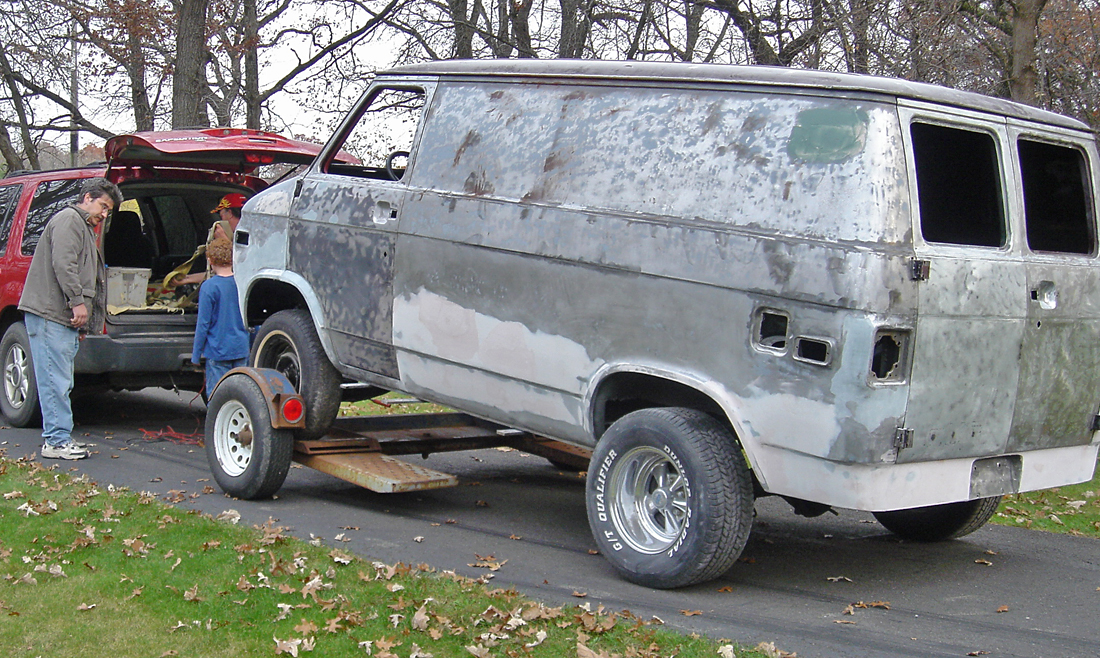
My paint removal and body work is done and off to the painter. I'll leave it to an expert to put the last layers of filler on and sand true. 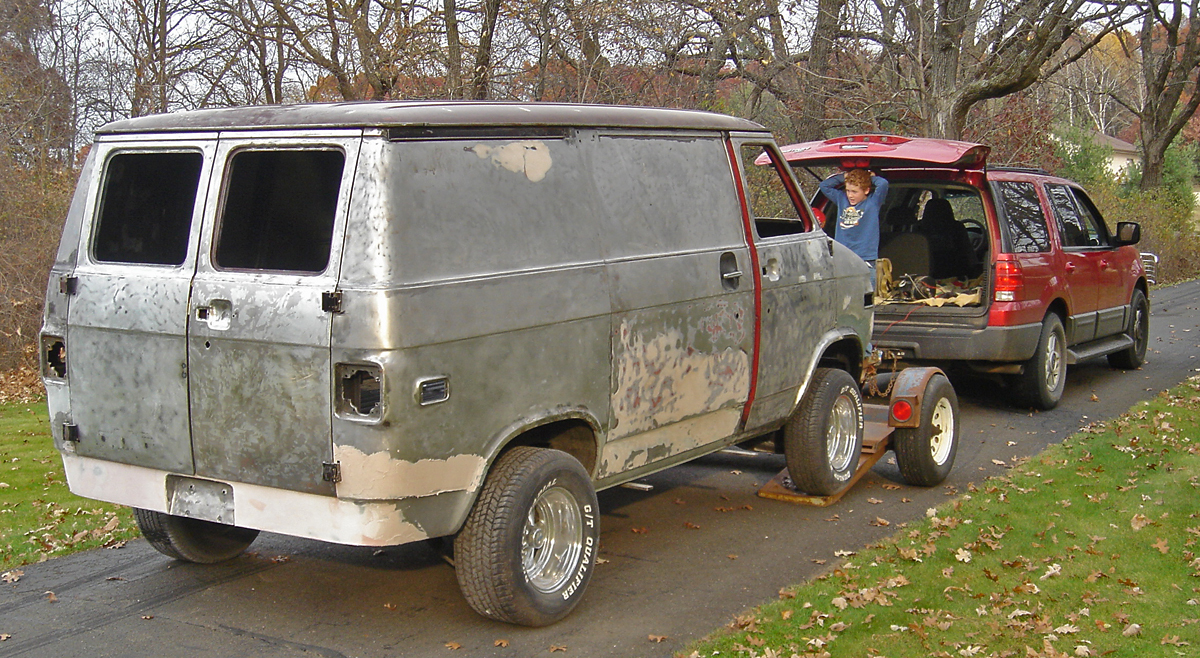
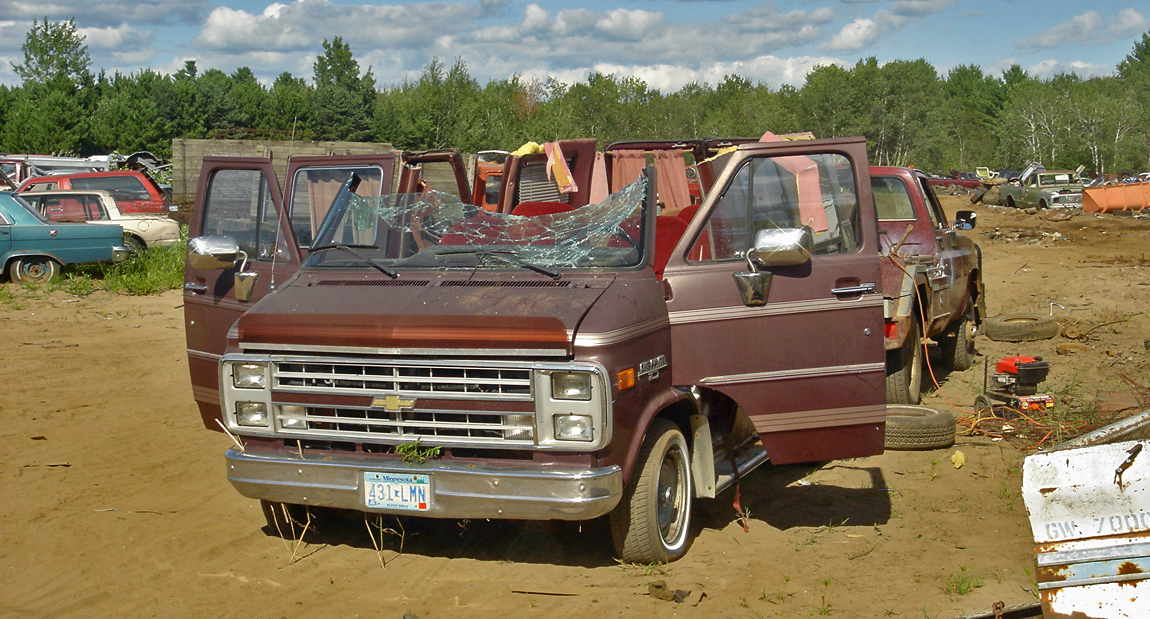
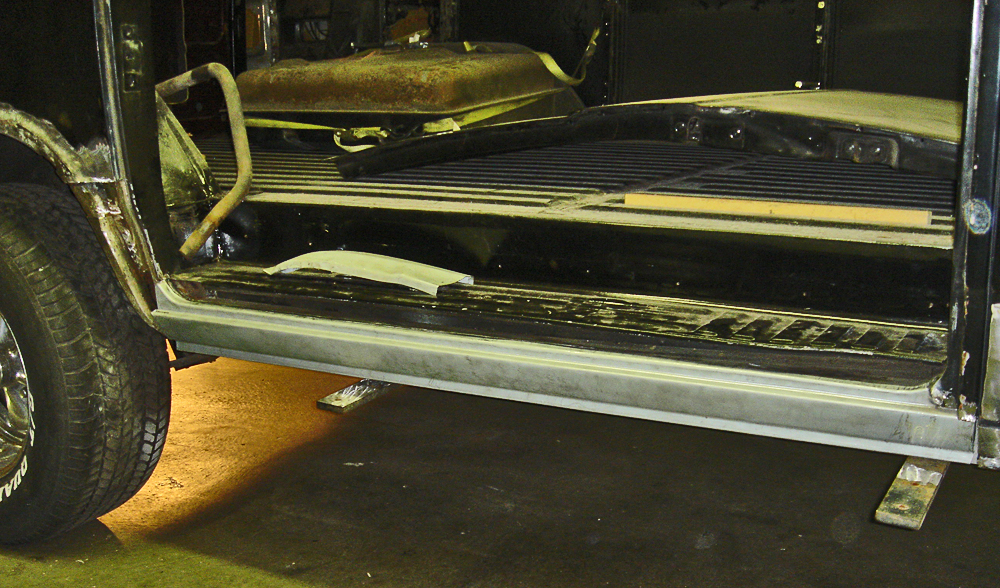
I like how the license plate bracket I welded into the rear rollpan came out. It should be a nice clean look compared to when it was in the driver side rear door. Two newer-body styled rear doors now grace the rear of the van (Chevy moved the license bracket to the bumper). Yah know, I had a chance to buy a rust free California van, which would have probably been the way to go, but for sentimental reasons, I just had to bring back my original van. It was a good learning experience teaching myself how to weld in patch panels without warping the hell out of sheet metal. 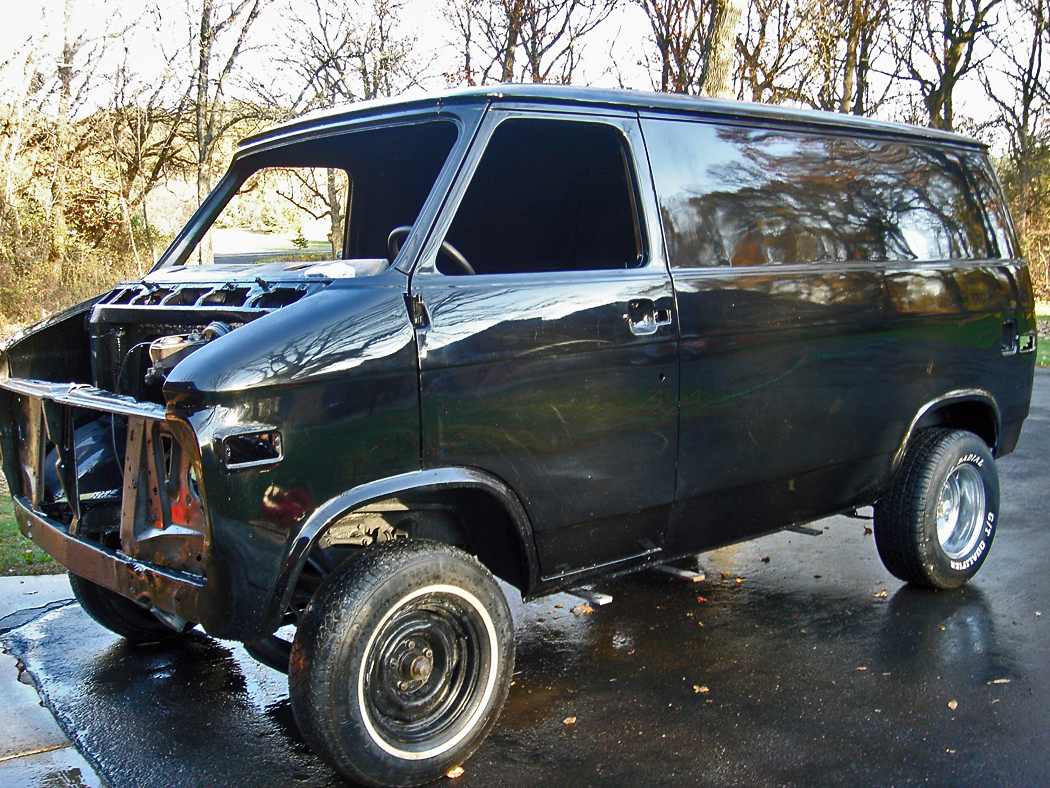
Well after almost 2 years and the van comes home. I talked to like 5 painters and no one wanted to tackle a job this big or they wanted gobs of money to repaint it. Mark ran his body shop out of his pole barn at his house and only agreed to take on the project if he could have the time to fit it in between all his insurance work. I was in NO hurry as I went back to working on my hot rod during that time, which actually worked well -- as I needed a break from working on this thing. 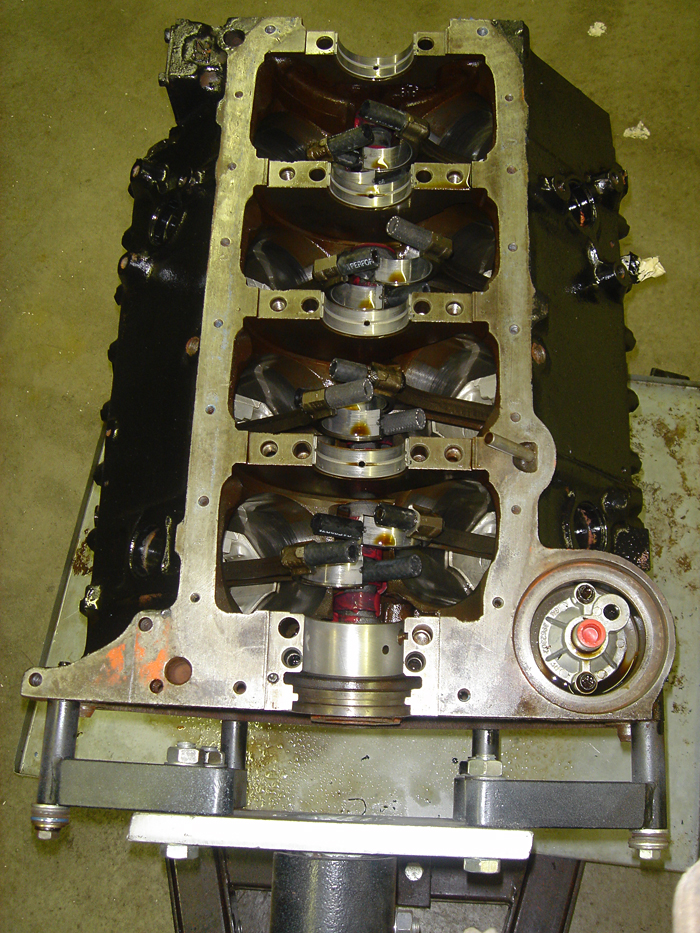
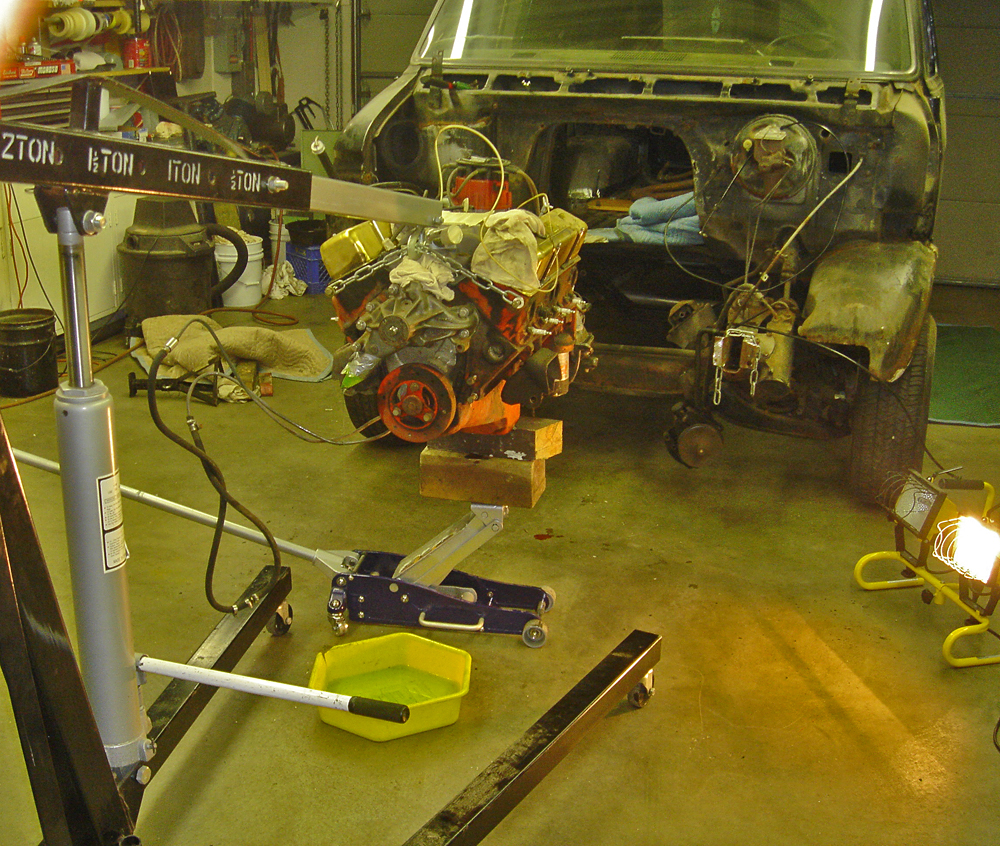
While waiting on the painter, it gave me some time to figure out the what to do in the engine bay. The motor was running fine, but it had 20,000 miles on it since it was last rebuilt. What the hell, since it's out, let's take a peek inside, check the cylinder walls and might as well pop in new main bearings on the lower end. The topside will get a new intake, carb, cam & lifters -- that will really 'wake up' this 350 motor. 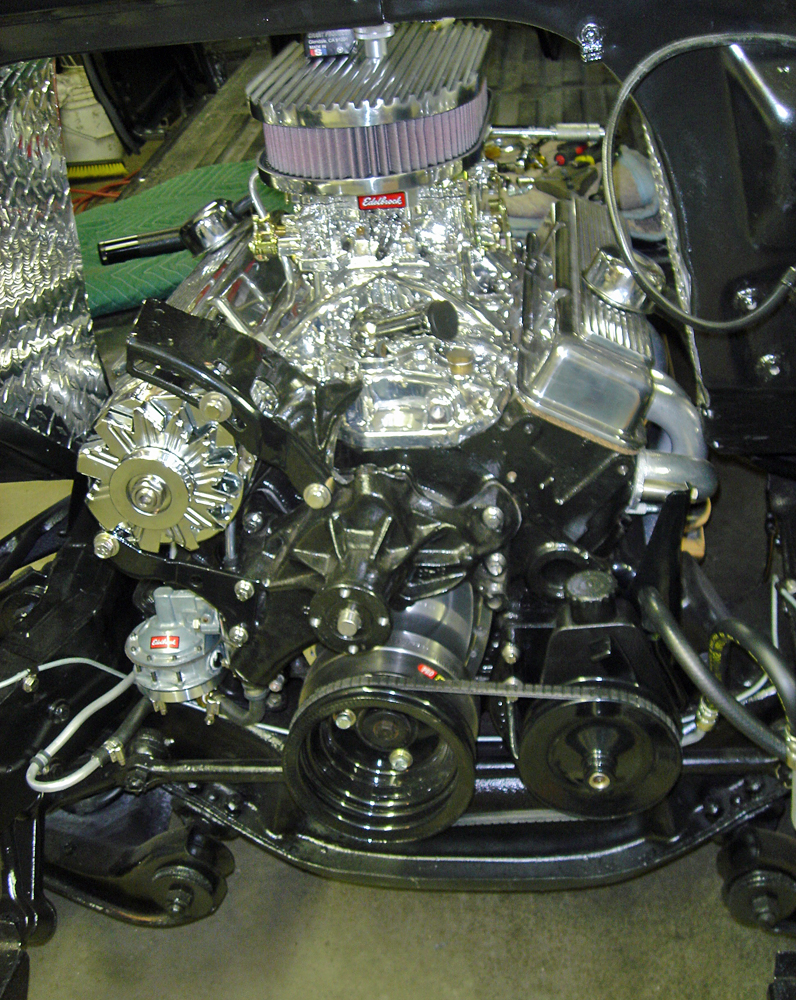
Motor all dressed up with new goodies and sitting back in it's place. Alternator will need to be upgraded as well as rewiring the entire engine bay area. 
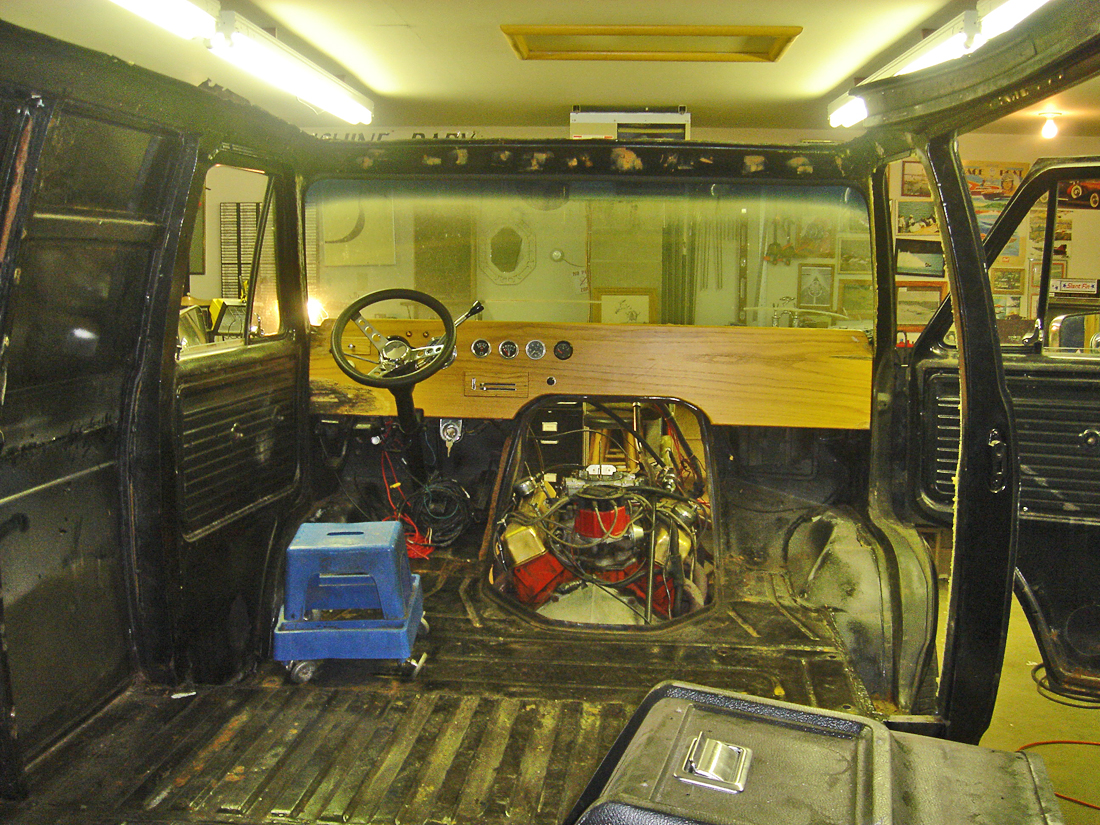
Okay, fast forward --- and here I am just finishing up fitting all the interior panels. I built a bed riser with a metal frame underneath, so I could get as much room for my sub box, spare tire, some tools, etc. Speaker placement was tough for me. What is in this photo is not where they ended up - I moved the 6x9s - 3 times and the 6" rounds, 2x. So much easier to patch holes in plywood............fun, fun, fun. 
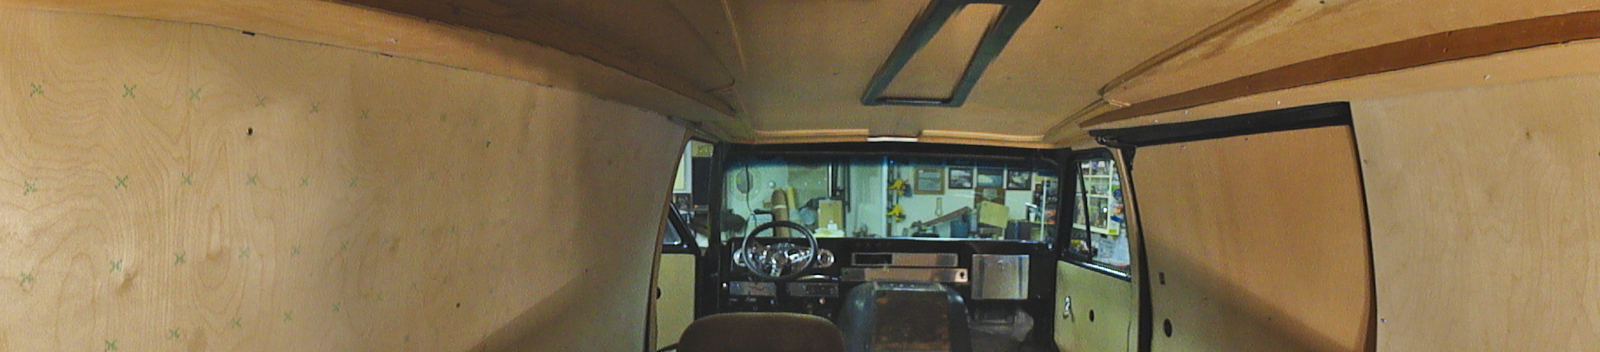
For the roof - I didn't really have much of a plan other than some drawings I sketched out. LED lights will be added around the perimeter and the flying V shape thingy in the middle. Click here to see a short 10 second video of how that went. Also note the dash will be changed again in the final from this pic. Here I am thinking - too much polished aluminum going on with that. I also did not want to be blinded by any reflective areas and also wanted more softer textures and padding. 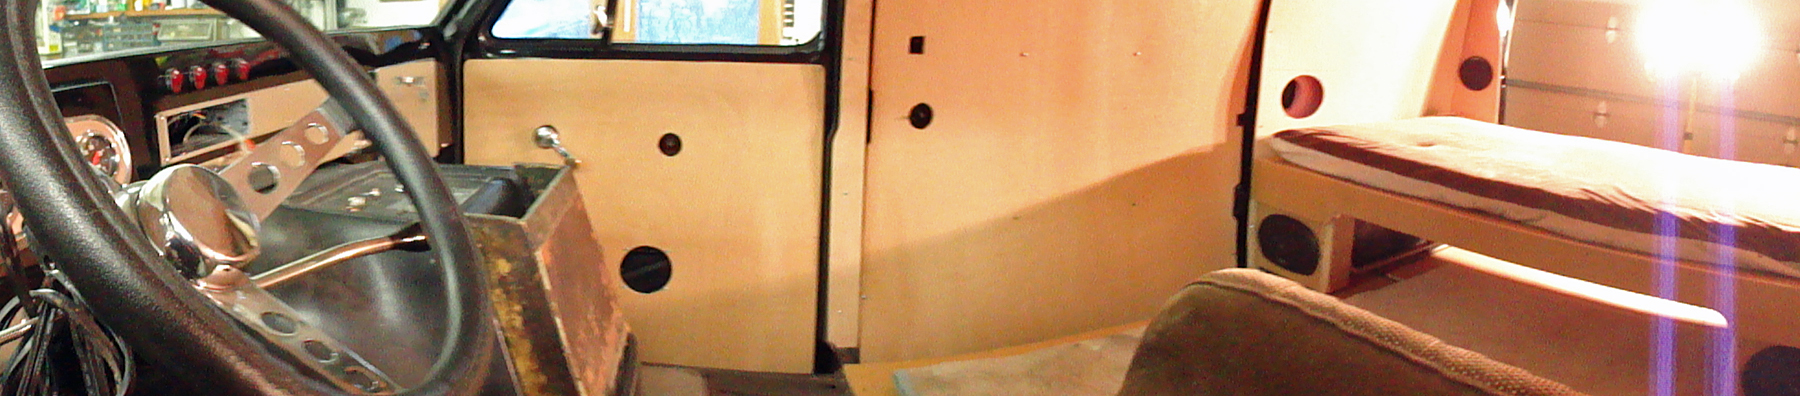
Time to figure out how I want to upholster the panels, color schemes and where to splash a little wood work and build-ins like the amp rack. (Click on either photo above to see a larger image). 
Okay, all panels and dashboard are all upholstered and screwed in. Time to insulate and pad the floor before carpeting goes in. 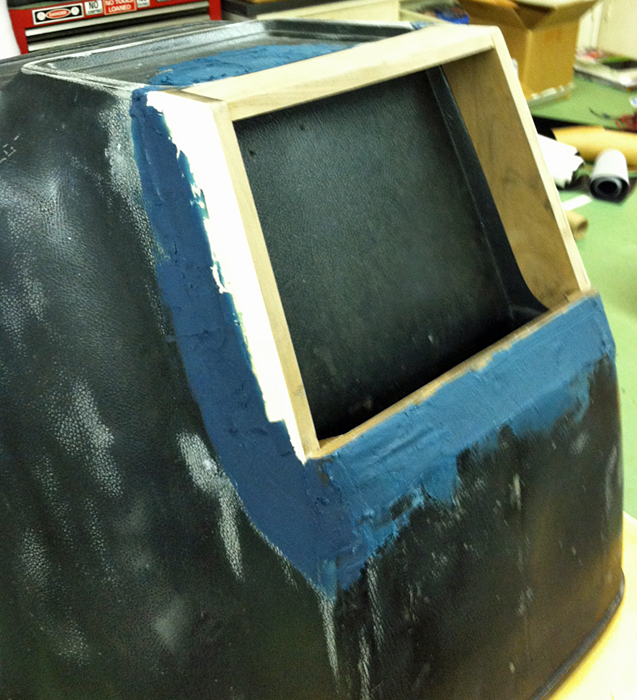
The engine doghouse is the last thing to get upholstered, but first, I wanted to put a door on the map pocket to keep all the clutter out of sight. I also put in extra soundproofing and insulation inside to try to quiet down the motor and road noise. That worked very well. 
Thanks for visiting my restoration page. Click here to view the last page - past versions of this van. ©2013 Phil Spruit |